
10 Basic Positions
We will describe 10 basic positions that you will need as a beginner. The fundamental elements of yoga are the positions. You will need to learn these 10 as you develop a regular yoga practice.
1. Mountain Pose (Tadasana)
This position seems to consist simply of standing, doesn’t it? But appearances can be deceiving. Mountain posture is considered an “active position” with many benefits, including improving posture and reducing back pain. It will also activate your thighs, knees, ankles, abdomen and buttocks.
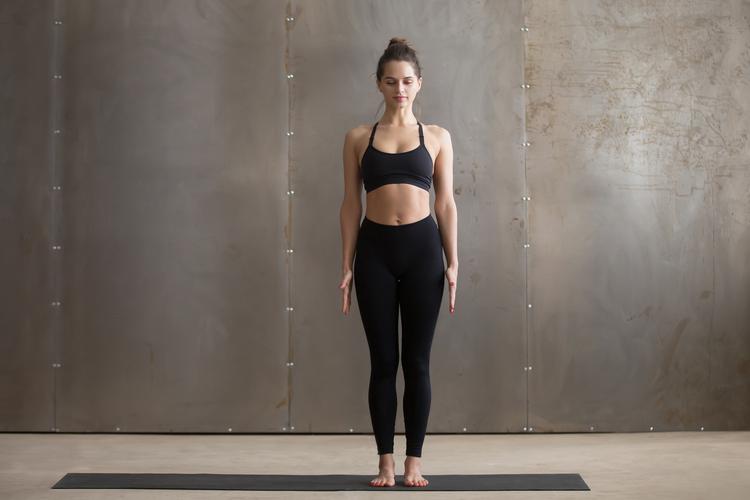
- It starts with the feet together, with the weight of the body evenly distributed over the soles of the feet. Make sure the big toes are pressing against each other.
- Lift your fingers and open them, and put them down again on the carpet one by one. If you have difficulty maintaining balance, start with your feet a little further apart.
- Straighten your legs, but making sure that all your weight is evenly distributed across your feet. Pull your hips back and up, turning them slightly inward. This will activate your quadriceps.
- Shrinks the coccyx inwards and keeps the hips in line with the center of the body. Slightly shrink the belly, keeping the pelvis in its natural position.
- Stretch the torso and pull the shoulder blades back, while widening the collarbones. Keep your arms straight and your fingers straight, and let the inside of your arms rotate slightly outward.
- Now, it is intended that, stretching the neck, align the ears, shoulders, hips and ankles. Continue to do the breathing exercises and feel the balance created by the mountain posture with each inspiration.
- Try to hold in this position for a minute.
2. Raised Arms Pose (Urdhva Hastasana)
The stance of the raised arms is a development of the mountain position. Practicing this position regularly helps to improve lung function and breathing, stimulate energy and well-being, improve cardiovascular systems and relax. It is also beneficial in reducing symptoms of fatigue, asthma and indigestion.
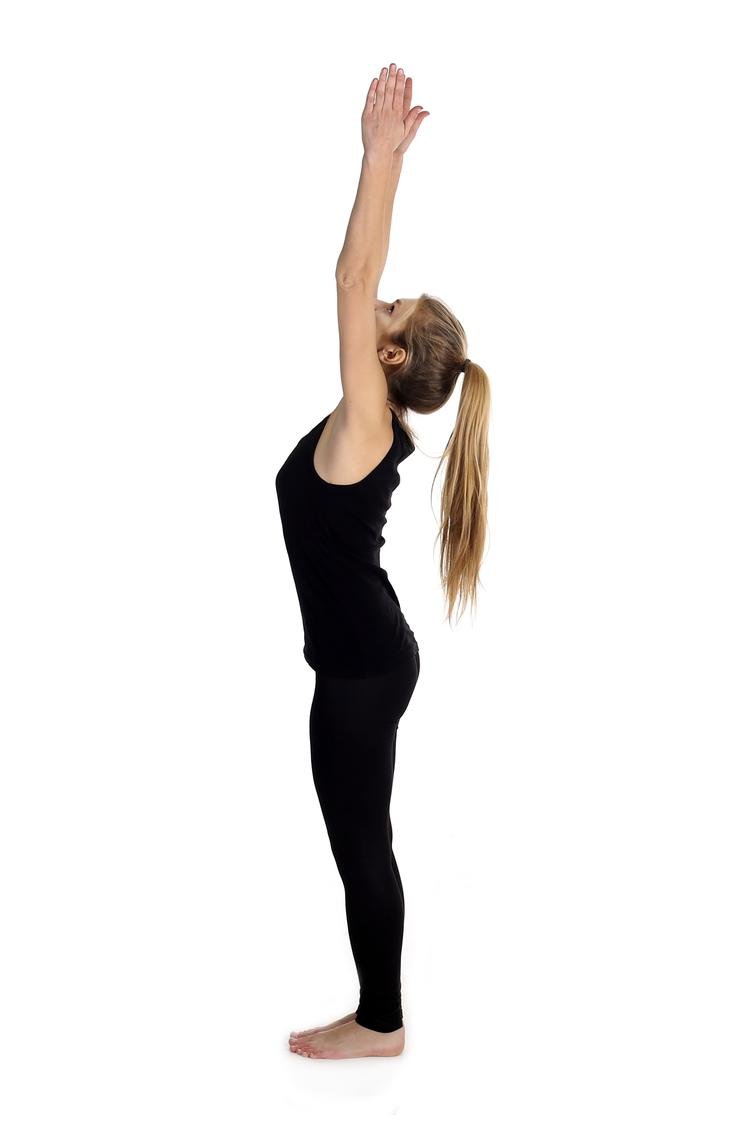
- To begin, rotate your arms outward so that they are facing forward. Make sure your thumbs are pointing backwards.
- Move your arms to the side and towards the ceiling. If you have little flexibility in your shoulders, there is no need to put your hands together. Stops movement when you reach the point of discomfort.
- Completely straighten your elbows and stretch your fingers upwards. The thumbs should naturally point downwards towards the head.
- Slightly tilts the head back, but without compressing the back of the neck. Ideally, you should be able to see the thumbs. If you don’t have enough flexibility, don’t push too hard: with practice you’ll end up doing it.
- Stretches the tailbone towards the floor and raises the rib cage evenly, away from the pelvis.
- If possible, hold this position for a minute.
3. Intense Stretching Posture (Uttanasana)
This position has varied benefits, including reducing stress and relieving symptoms of fatigue and anxiety. It can also help to stimulate the liver and kidneys, improve digestion, lengthen hamstrings, shins and hips, strengthen thighs and knees, and can be therapeutic for those suffering from various types of conditions.
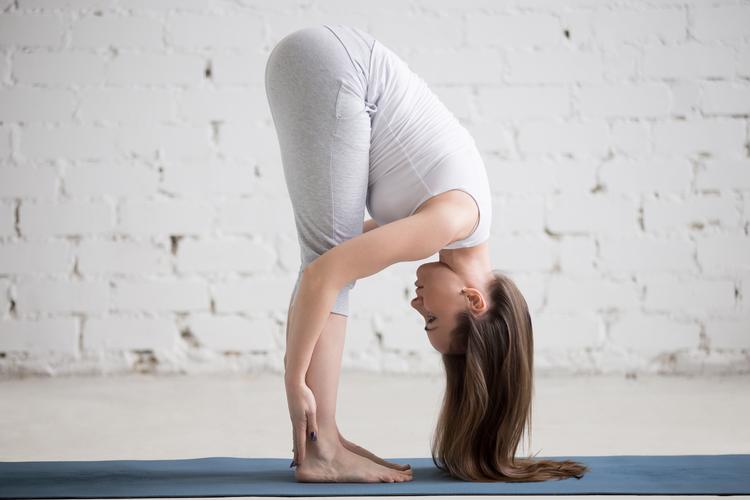
- To begin, position yourself upright, with your hands on your hips. Exhaling, curve the body forward from the hip joints. While bending, “pull” the torso out from the groin. The emphasis on stretching the front of the torso is crucial for this movement.
- With your knees straight, place your palms and fingers on the floor, slightly in front of your feet or behind your ankles. This may not be possible if your hip joints are not very flexible. In this case, simply place your hands behind your legs, as low as possible.
- With each breath, try to lift the front of the torso a little more.
- Try to hold this position for a minute.
4. Wreath Position (Malasana)
The garland position is an excellent basic yoga exercise to help you recover from injuries to your lower back and knees. The garland position also has the benefit of toning the belly and developing strength in the core , as well as stretching the ankles, groins and back of the torso.
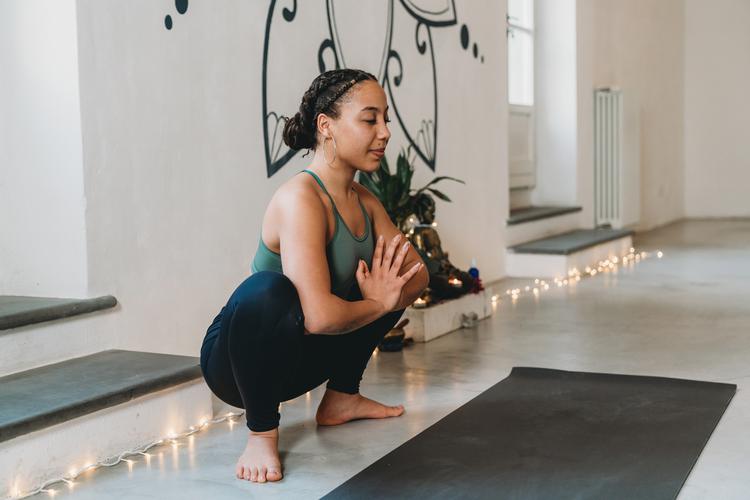
- To start, squat, with your feet as close to each other as possible. Make sure you keep both heels on the floor.
- Place the thighs slightly wider than the width of the torso. As you breathe, lean your torso forward so that it is positioned between your thighs.
- Put pressure with your elbows against the inside of your knees, bringing your palms together. Make sure your knees don’t move forward.
- Try to hold this position for a minute.
5. Half Moon Position (Ashta Chandrasana)
This position should not be practiced by people with serious knee injuries. On the other hand, the position is highly therapeutic for indigestion, constipation and sciatica. The half-moon position also stretches the groins and strengthens the arms and legs.

- Start with the intense stretch position (described above) and bend your knees.
- Take a step back with your left foot and place the sole of your foot on the floor. The idea is to form a right angle with the right knee.
- Next, place your torso on your front thigh, stretch it forward and look ahead. Push your left thigh towards the ceiling, while keeping your left knee straight. Stretches the left heel towards the floor.
- Try to hold this position for a minute, and then repeat with the other leg.
6. Plank (Phalakasana)
If you suffer from carpal tunnel syndrome, this position is not recommended. The board is well known for developing strength in the core and toning the abs, while strengthening the arms, wrists and spine.
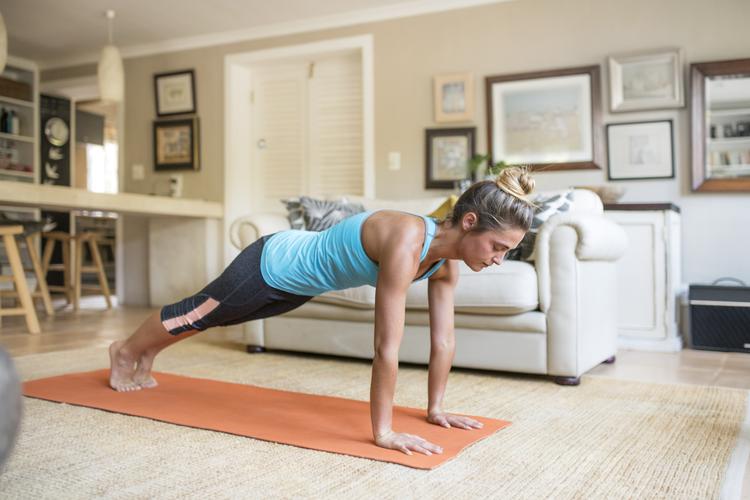
- Place yourself on all fours, on your hands and feet, with your back up. Inhale and push forward with your torso. Your arms should be perpendicular to the floor, with your shoulders directly above your wrists. The torso should be parallel to the floor.
- Press the outside of the arms inward and the shoulder blades to the rear. Then, apply force with the collarbones to remove them from the chest. Use your thighs towards the ceiling, and your coccyx towards your heels.
- Keep your neck soft and look towards the floor.
- Try to maintain this position for 45 seconds.
7. Bat Position (Dandasana)
If you suffer from a wrist injury, we recommend that you take special care with this position. The pole pose is excellent for strengthening your back muscles, stretching your shoulders and chest, and improving your posture.

- Sit with both legs together and stretched out in front of you. Make sure your back is completely straight, forming a 90 degree angle with your legs.
- Push your thighs against the floor and let them turn slightly inward. Stretch your heels away from your body and flex your ankles. Then stretch your torso as far as you can.
- Try to hold this position for a minute.
8. Pinch Pose (Paschimottanasana)
This position has several benefits, including helping to relieve stress and anxiety. Practicing this position regularly stretches the spine, shoulders and hamstrings, stimulates the kidneys, liver, ovaries and uterus, and has therapeutic effects in a variety of conditions.

- Sit on the floor with both legs stretched out in front of you and push your heels against the floor. Let your thighs roll slightly inward.
- Place your hands beside your hips and push them against the floor. Lift the external towards the ceiling. Make sure you keep your torso well elongated and stretch forward from your hip joint.
- Stretch the tailbone away from the pelvis. If you can, try to keep your elbows fully extended and hold the sides of your feet with your hands. If you can’t do this, attach a bow to your feet and hold it tight. Make sure you keep your head up.
- Try to hold this position for a minute.
9. Head Knee Pose (Janu Sirsasana)
This position is believed to be therapeutic for people suffering from high blood pressure, insomnia and sinusitis. Practicing it regularly helps to strengthen your back muscles during pregnancy (until the second trimester). It can also help to relieve anxiety, fatigue, menstrual discomfort, and mild depression and headache, as well as improve digestion. Finally, this position stretches the spine, shoulders, hamstrings and groins, and stimulates the liver and kidneys.
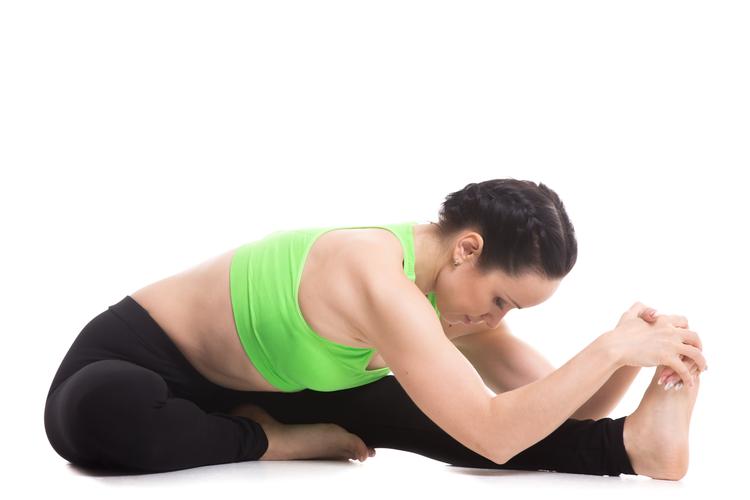
- Sit with both legs straight in front of your body. Bend your right knee and place it against the inside of your left thigh. The idea is to form a right angle between the shin of the right leg and the left leg.
- Press your right hand against the inside of your right groin and place your left hand on the floor next to your hip.
- Rotate the torso slightly to the left. Try to hold in this position for a minute.
- Do not forget to perform this position from both sides.
10. Happy Baby Posture (Ananda Balasana)
This stretching position does not have as many physical benefits as the others, but it is great for becoming more aware of the position of our thighs. It also stretches the inside of the groin and the back of the spine. Like the others, the happy baby’s position calms the mind and helps relieve stress and fatigue.

- Start by lying on your back with your knees bent to your belly. Hold the outside of your feet with your hands.
- Pull your knees a little more than the width of your torso and pull them towards your armpits.
- Make sure your ankles are directly on your knees and flex your heels. Push your hands with your feet, using them to create resistance.
- Try to hold this position for a minute.
Final Message
Yoga doesn’t have to be difficult. Yoga positions for beginners will help you create a solid foundation from which you can continue to grow. These are the postures that you will need to learn in order to feel comfortable in a class or to practice independently.
Don’t be intimidated by the sometimes obscure terms of yoga, advanced classes and complicated positions. Yoga is for everyone and can be done in the comfort of your own home.
Be First to Comment